
As the conservation technician for the Architecture & Planning Library, a normal day for me usually involves repairing monographs and serials from the library’s general collection. Every once in a while, however, I get to work on special projects for the archive or for an exhibit. One day in April, Nancy Sparrow, the Curatorial Assistant for the Alexander Architectural Archive, asked me to work on a 1910 blueprint from the architecture office of Cass Gilbert. Gilbert was located in New York at the time of the drawing’s creation. The blueprint, coming in at a hefty six by three feet, shows a side elevation of an exterior iron lamp for the UT Library Building.
Nancy needed to send the drawing to the Perry-Castañeda Library (PCL) to be digitized. The drawing was buckling in the middle, had some major tears, and was covered in three different types of tape. It had to be stabilized enough to be carried to PCL and to undergo the scanning process. I was excited by the opportunity to brush up on my large format repair skills, so I busily collected the essentials: a microspatula, tweezers, freshly made wheat starch paste, an assortment of brushes, small weights, lots of blotter and Reemay, and of course, a fairly heavy and strong Japanese tissue.
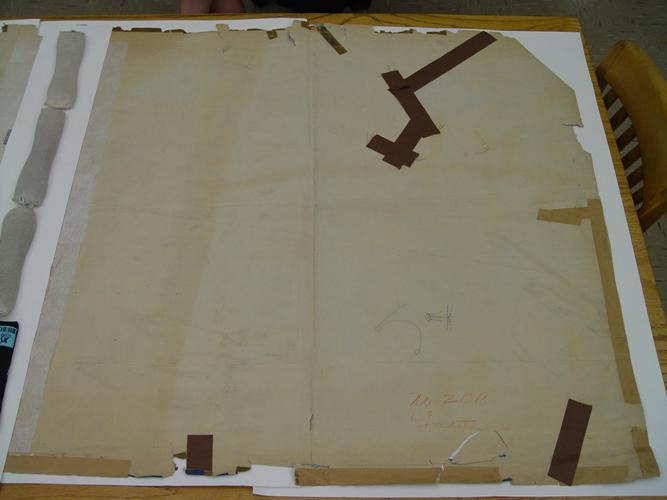
- Half of the drawing, before I removed the dark brown tape
Before I began, I assessed the damages to the drawing in order to determine the level of repairs needed. I noted where the major tears were located. I especially focused my attention on the edges where the drawing is handled the most, and any particularly deep tears that compromised the image itself.
Nancy was already gently humidifying the middle section of the drawing where it was most severly creased. While we waited for that treatment to finish, I decided to tackle the tape. With my microspatula, I tentatively lifted a piece of the dark brown tape whose glue had dried out years ago and was pulling away from the paper. To my delight, this type of tape came off quite easily without damaging the drawing. While I was able to remove all of the offending dark brown tape, I decided to leave the other, more adhesive tape on for now. The humidification went beautifully, and a great deal of the wrinkling was now gone.
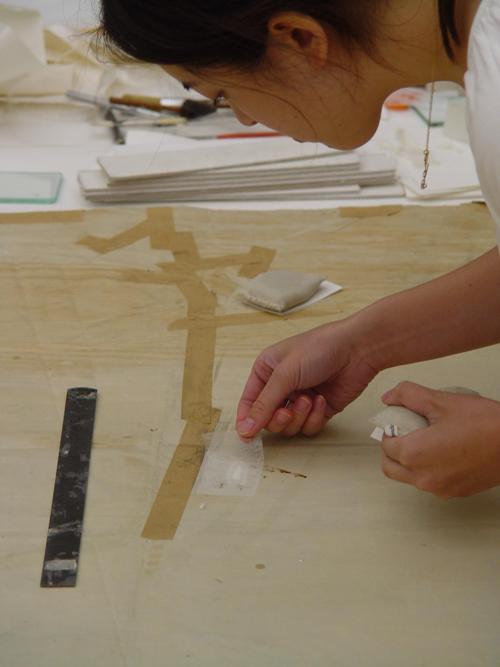
I then began working my way across the drawing, right to left, tearing strips of Japanese tissue (as I learned at the preservation department at the University of Illinois, Urbana-Champaign’s University Library, the furrier the edges of the tissue, the better!) to the exact size of the tears, brushing paste onto them, and finally applying them with tweezers. The area is then covered, in order, with Reemay, blotter, and a weight.
I worked my way across the drawing. After the mends had dried completely, I trimmed any tissue that went past the drawing’s edge. In all, it took me approximately 5.5 hours to repair the drawing. The drawing has since been sent to PCL and returned to the archive. Scanned in four sections, the entire digital image is more than 16MB!


