Hello y’all! Katie (2.2) here. I admit that Battle Hall Highlights has not been quite as active on the blog front from the Library compared to other years – apologies for that, but it was for a very good reason! The University of Texas at Austin Libraries have been working on implementing Omeka as a platform for publishing digital collections and exhibits from UT institutions. Our own Katie Pierce Meyer (the Librarian here at the Architecture and Planning Library) was instrumental in bringing Omeka to UT, and APL is proud to now have three exhibits available via Omeka. As GRA for the Library, I spent the majority of my semester migrating content from our website, which was housed and designed via Drupal 6, to UT’s Omeka. The three exhibits on Omeka now are “Our Landmark Library: Battle Hall at 100,” “Their Maya Story: George and Gerrie Andrews,” and “Eugene George: Architect, Scholar, Educator, Photographer.” Each exhibit posed unique challenges in migrating the content, and have provided invaluable experience in creating exhibits via Omeka.
So, what is Omeka? It is a free, open-source platform for publishing digital collections and exhibits. Developed and updated by the Roy Rosenzweig Center for History and New Media, Omeka has several iterations (Omeka S, Omeka.net, and Omeka Classic), but originally started out as a platform designed for small institutions with limited resources.

Omeka is meant to be easy to use and simple to upkeep, especially for those with limited technological know-how (e.g., me). So, with some persistent encouragement from Katie Pierce Meyer, UT eventually decided to install Omeka as a platform for the UT Libraries to upload digital collections and exhibits. So only our three exhibits, and one about South Asian Popular and Pulp Fiction Books, are available via Omeka. There are various reasons Omeka has not gained traction: it is necessary to first have a digital collection about which to build an exhibit which takes a great deal of time, it has been time consuming to try to coordinate with the UT Data Asset Management System (DAM) to develop a metadata standard, and, simply, Omeka is not perfect.
Where other exhibit builders (such as Scalar) are more image-focused, Omeka is quite metadata-heavy. This is evident in the limited theme options (basically, themes are the design layout, or style, of the exhibit) currently available on UT’s Omeka, which tend to be text-based with smaller images. Hopefully, as more institutions digitize items and see the existing exhibits on Omeka, the site will grow in popularity as a platform for UT’s Libraries to share more of their unique collections.
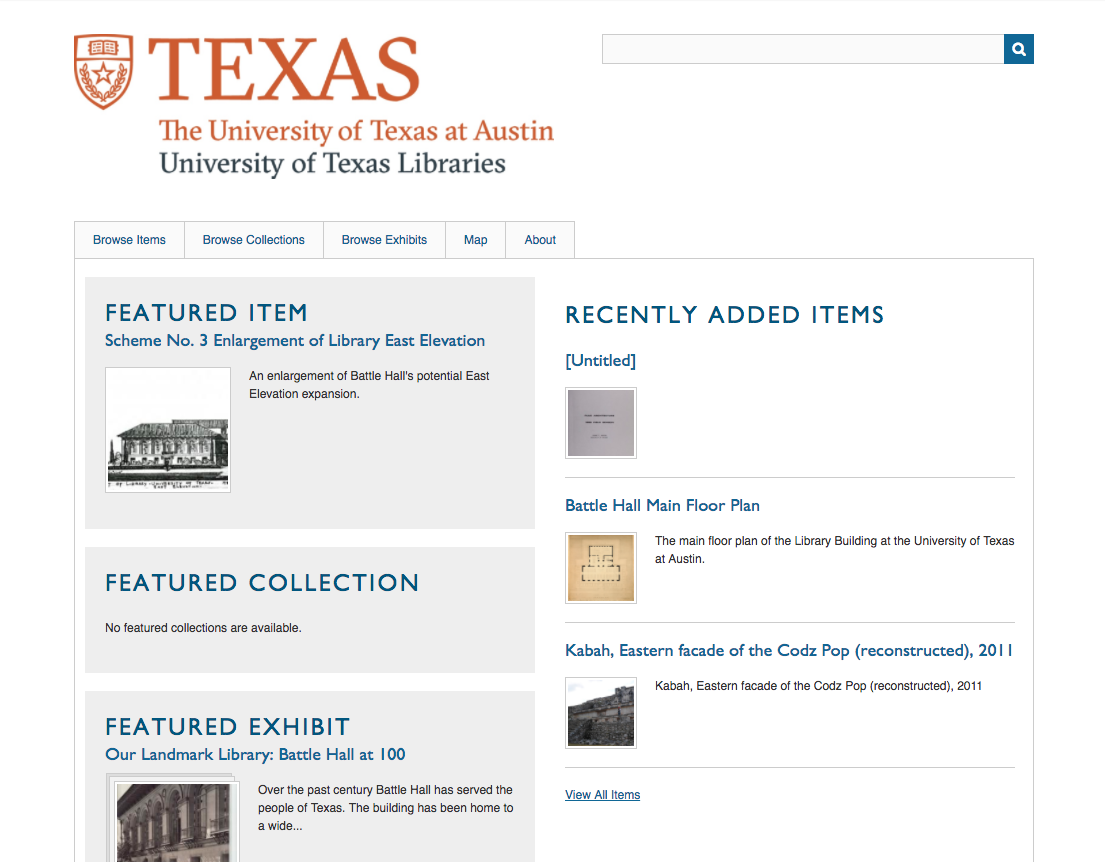
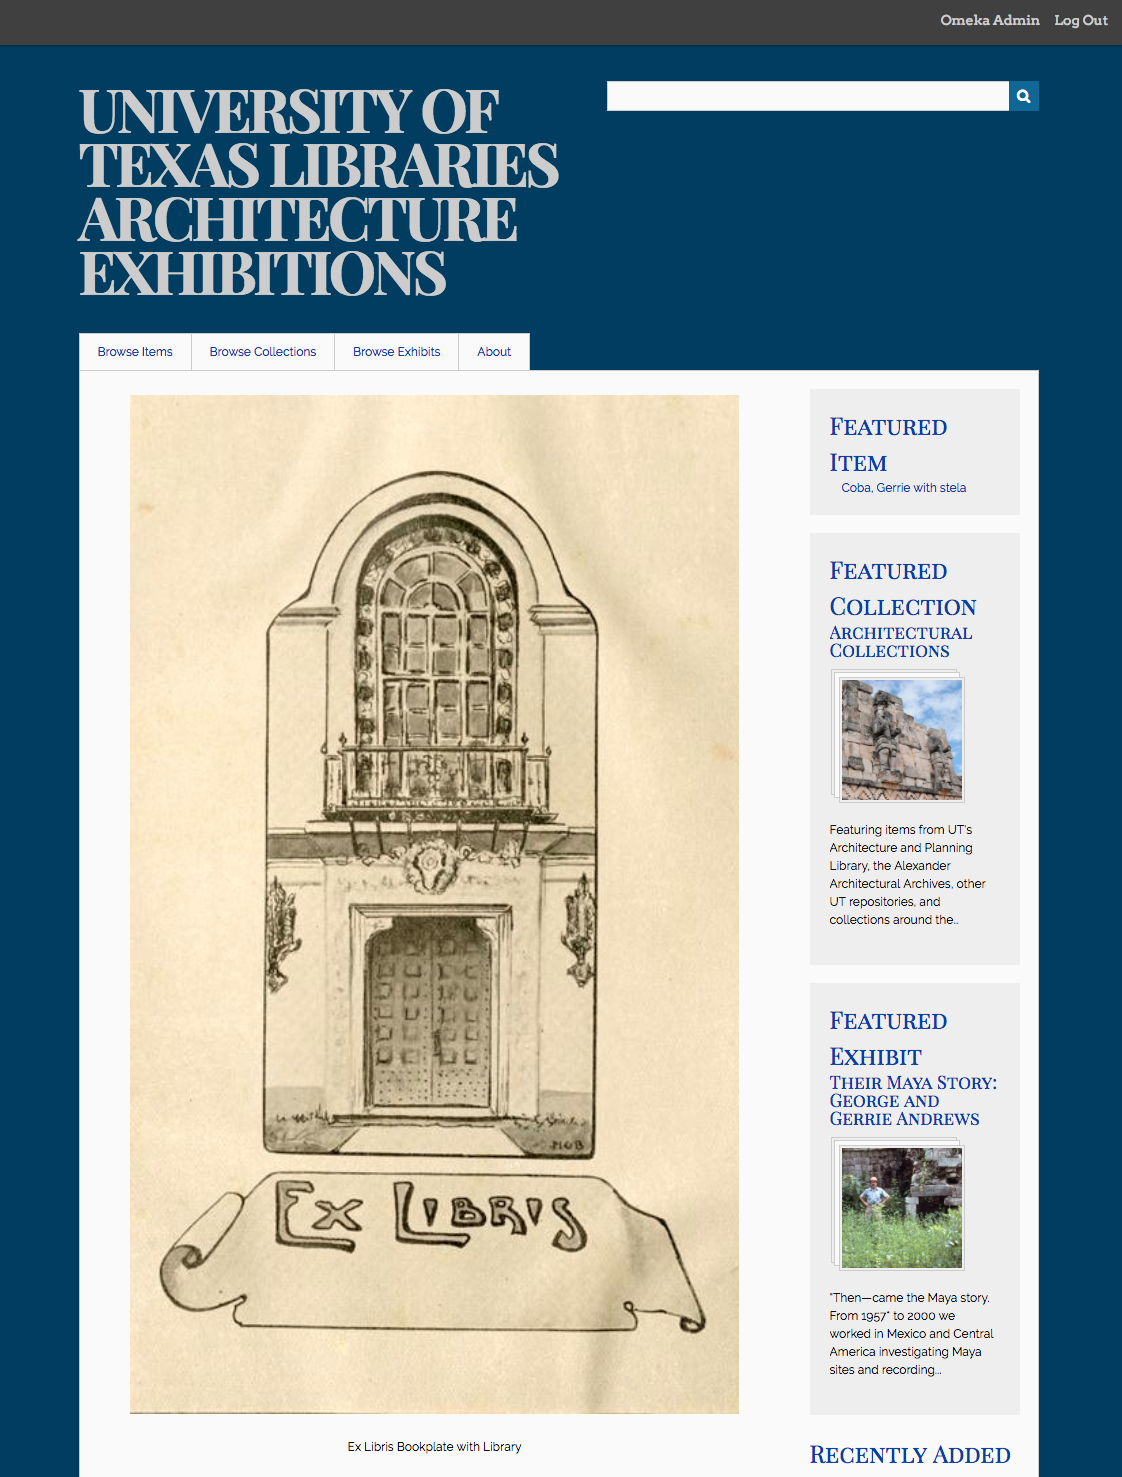
In late December of 2017 to early January of 2018, all Omeka content was migrated from Omeka.org to Omeka.net. What the Libraries and the IT team decided to do was host content via Omeka servers rather than host it themselves. This created the opportunity for each institution to have their own independent Omeka site that they control. When we worked in Omeka.org (the homepage of which is pictured below), everything was in the same bucket, so to speak. At that point, two of our exhibits were completed, and the Architecture Library and the South Asian Pop Culture Collection were the primary users of Omeka. Now, the South Asian Popular and Pulp Fiction Books has its own site, and we have our own website now (which you can see here: http://utlibrariesarchitecture.omeka.net/) that we can customize to fit our needs as an institution. The site is still a work in progress, as we are working on adding more content, but we now have three exhibits (all discussed thoroughly below) publicly available for everyone to enjoy and explore!
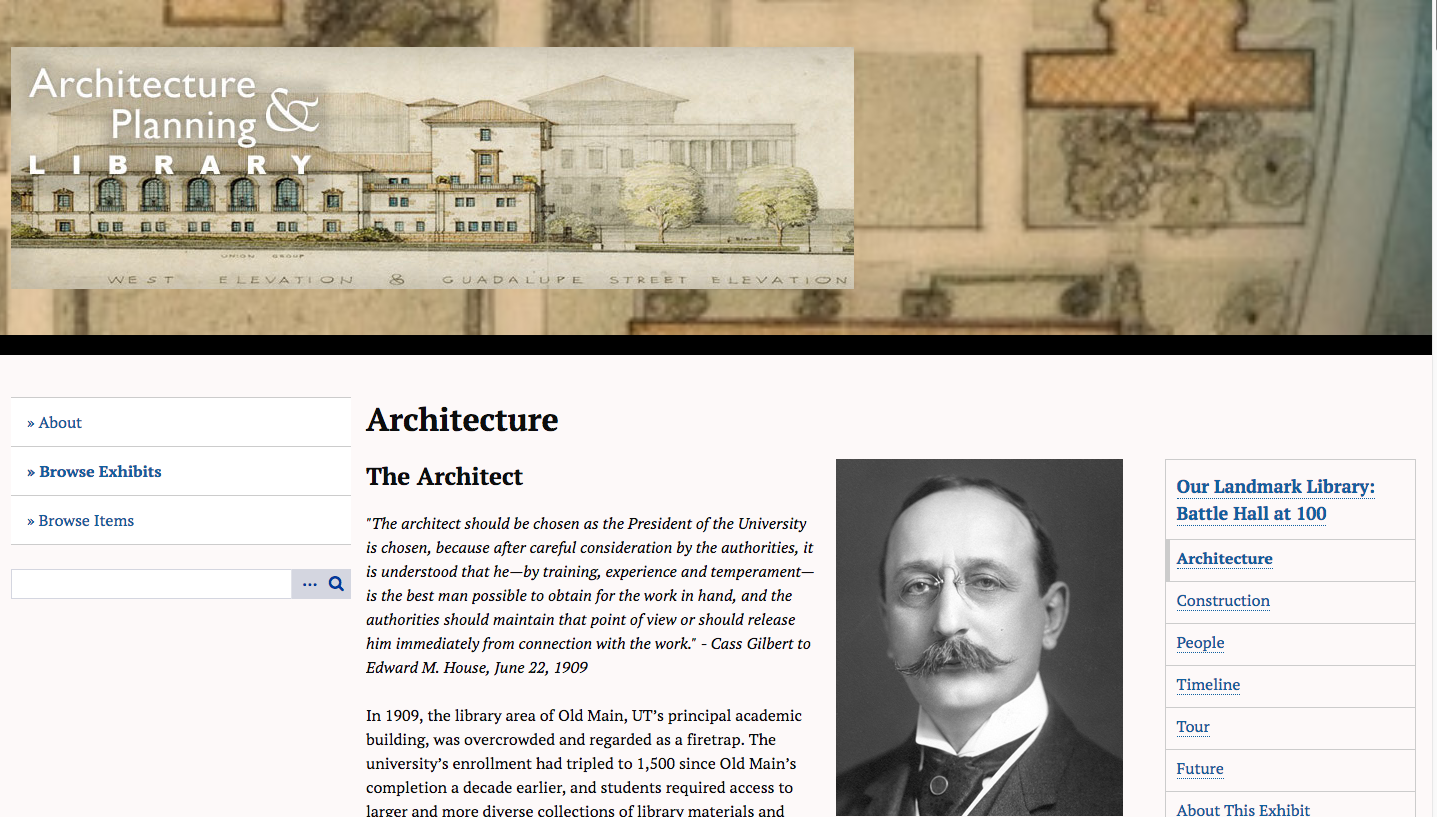
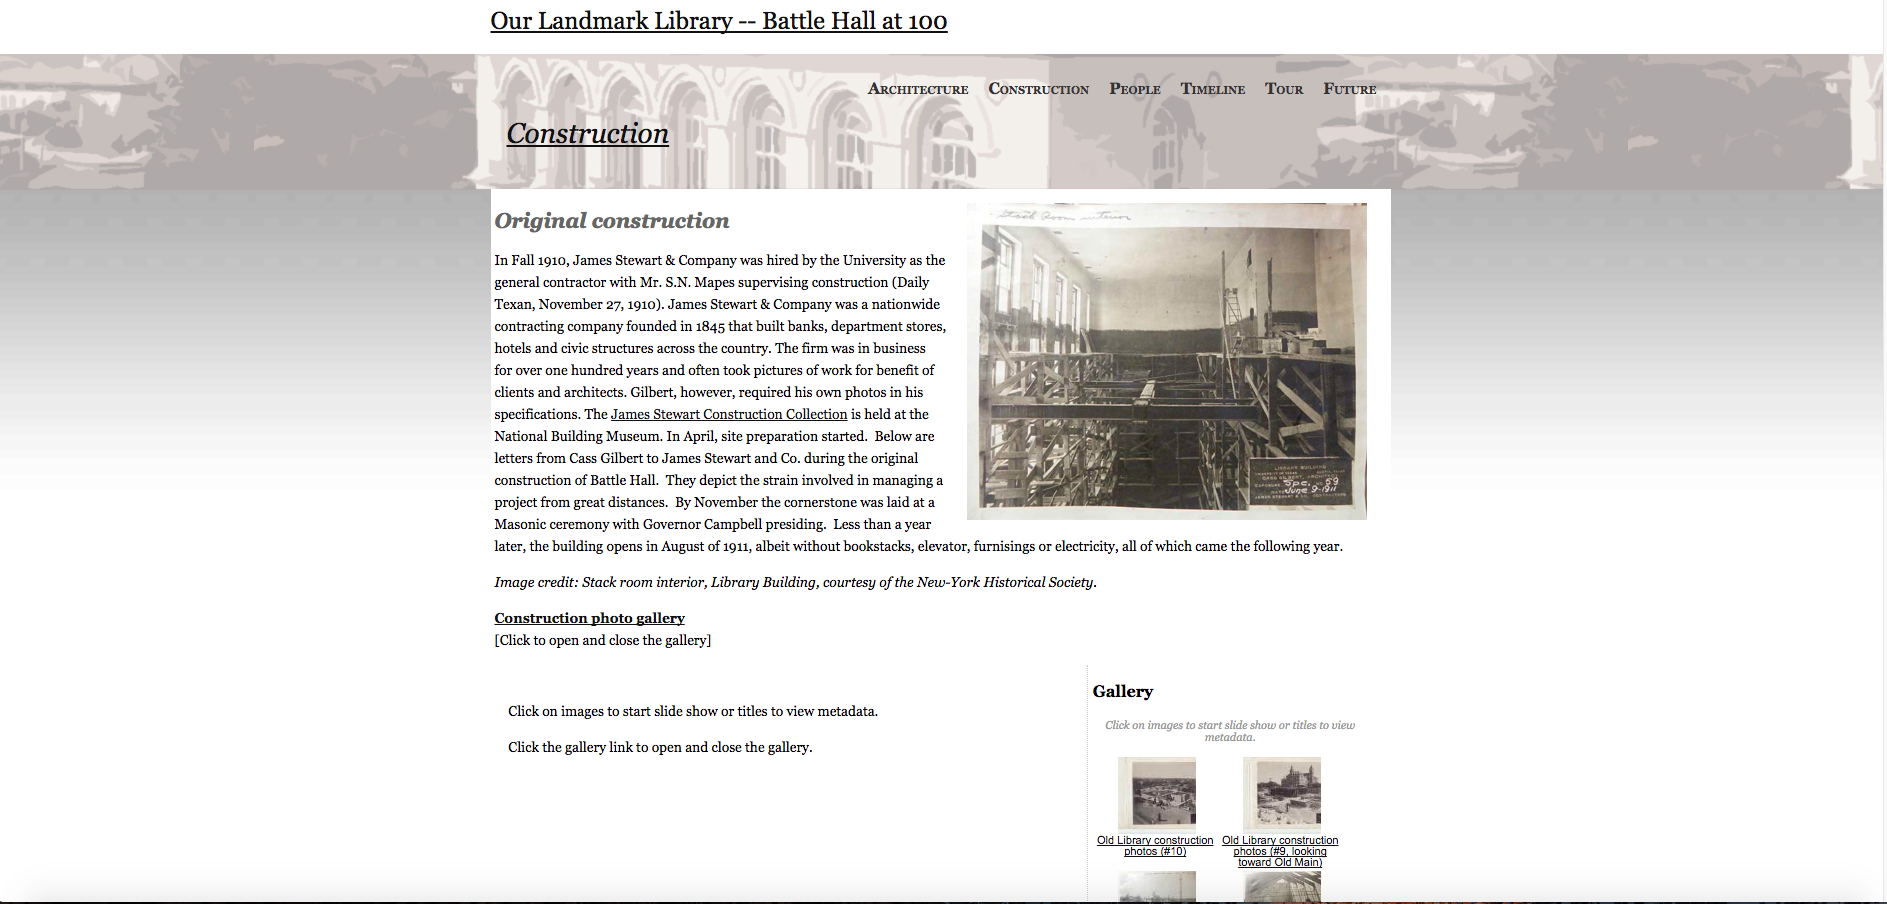
Battle Hall at 100: Our Landmark Library
Pros: Learned how to import items one at a time
Cons: Took three to four months to complete, took a while to standardize metadata (had to go back and change early entries), and there was a lot of trial and error (in both uploading items and in building the exhibit and making it look well-done)
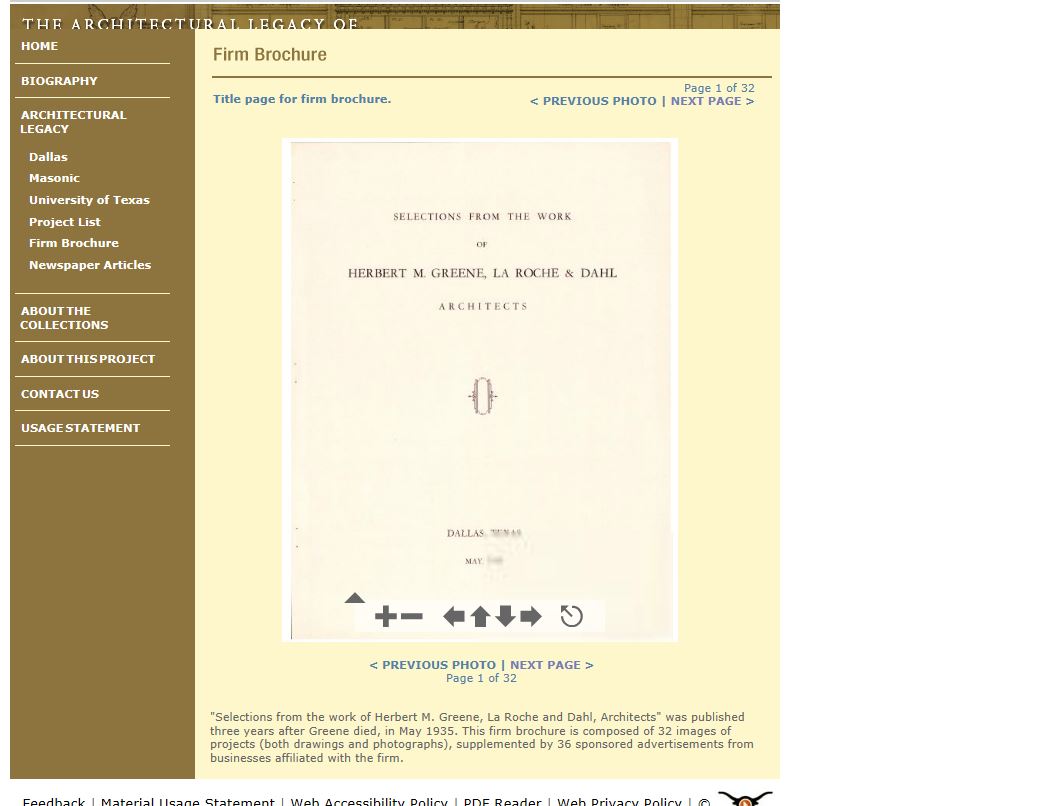
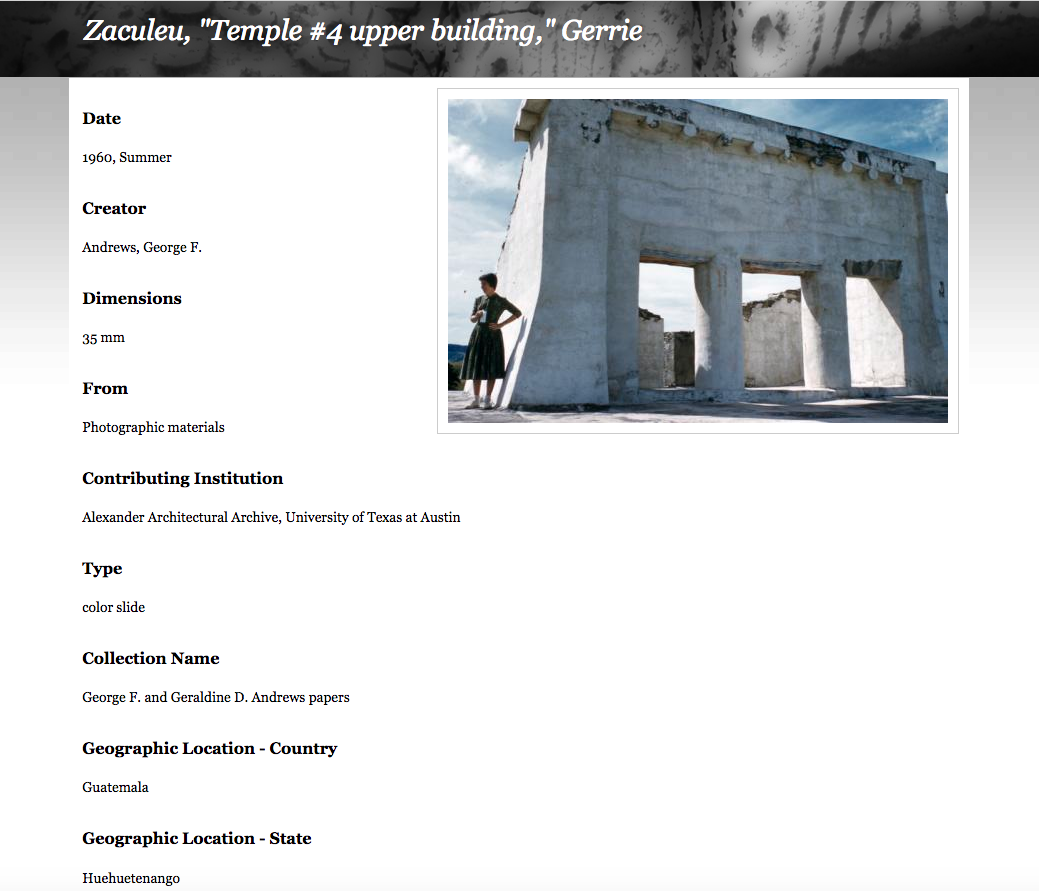
Theme: Thanks, Roy (the fullsize image display is rather small, as are the thumbnails, menus are confusing because Omeka menu is on left and exhibit menu is on right of the text, and the metadata page is text-heavy with a thumbnail image at the very bottom, nice galleries of images, though)
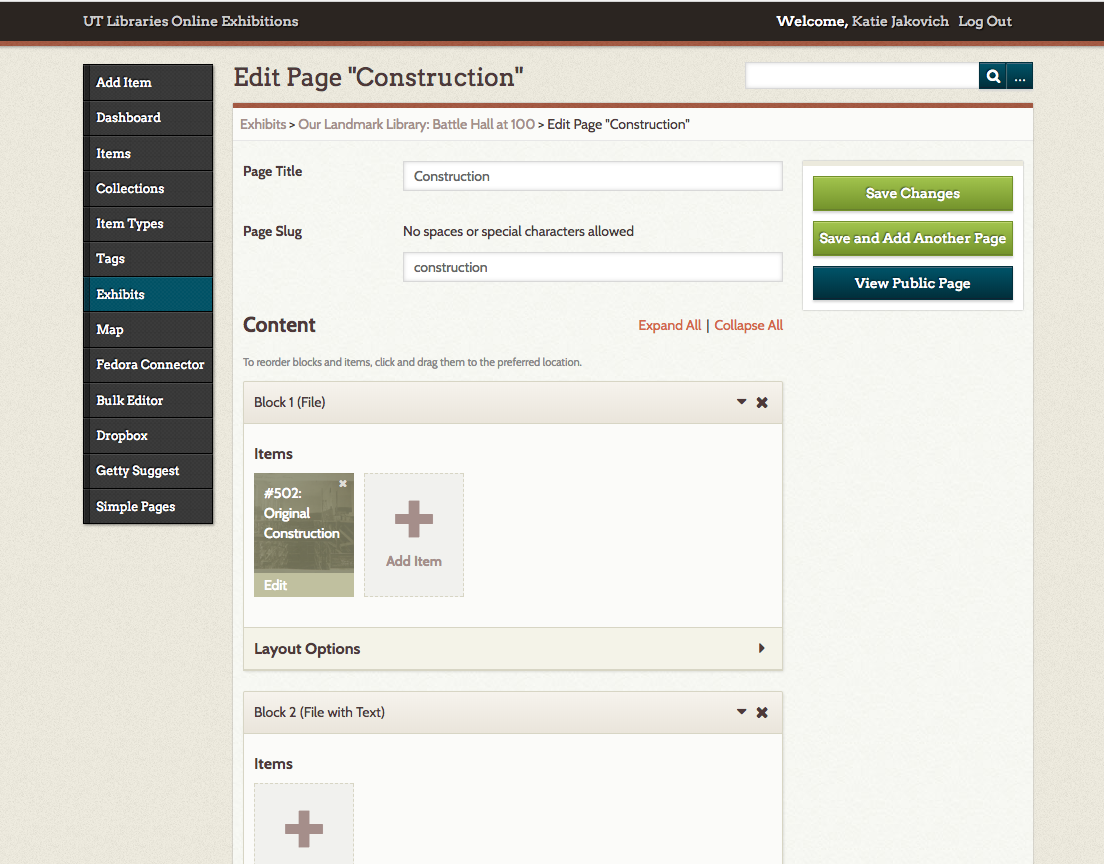
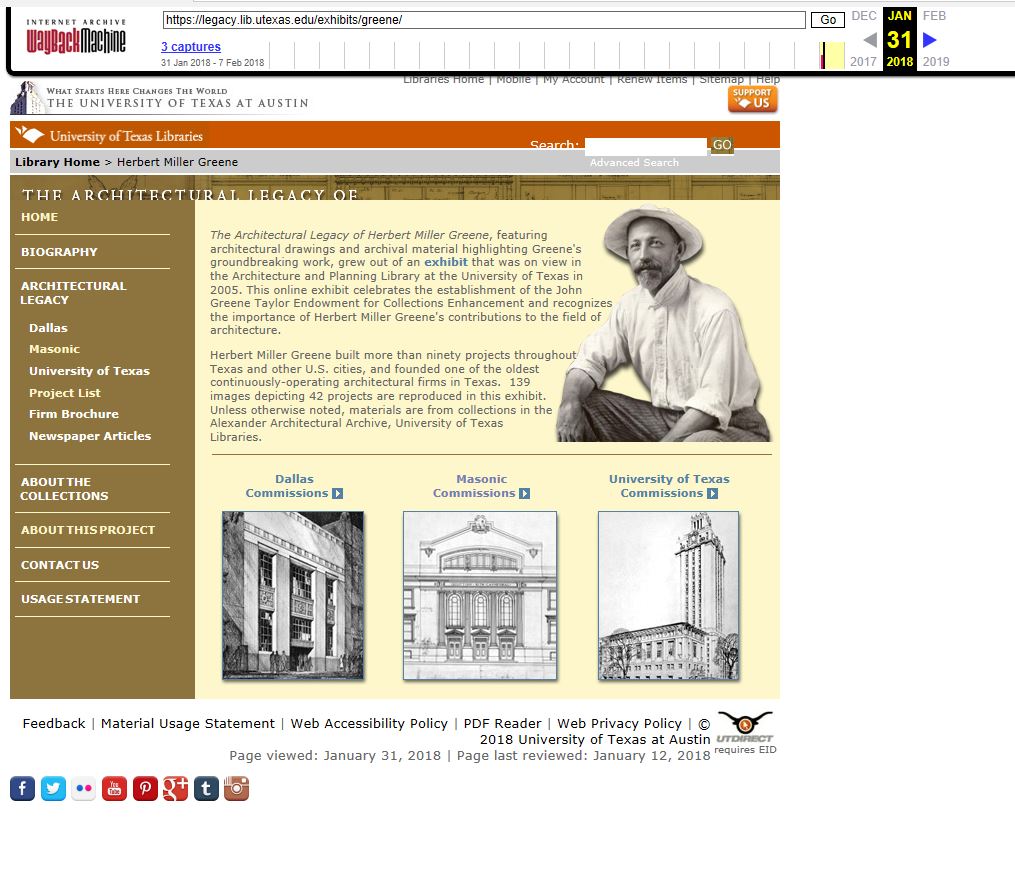
The first of the three exhibits I migrated was Our Landmark Library: Battle Hall at 100. This one was migrated “by hand,” if you will, meaning I moved each item individually, entering in the metadata and adding the image files myself. The main takeaway? This method of importing items is slow. Containing approximately 140 items, there was a lot of trial and error (mainly human error) in migrating Our Landmark Library. Namely, it took time to find the best standard for the metadata, because I wanted to be sure to include all the information included in the old exhibit on Drupal. Eventually, I found a standard, wrote it down, and followed it for the remainder of the items, before going back and changing the ones I had already uploaded. So uploading the items was the first phase of this project. The second phase was reconstructing the exhibit in Omeka. I
wanted to maintain the original order of the exhibit, which was simple enough. The hardest part of building the exhibit was putting together the galleries, which were pretty big in this exhibit. Formatting the exhibit to have a nice flow to it (no big gaps or spaces between what are called “blocks” on Omeka, a means of separating and formatting parts of a page), keeping the images in the correct order, and writing captions for each image was not challenging so much as time-consuming. Even though this exhibit took a long time to complete because of the method of uploading each image myself, I am glad I had the experience. I became intimately familiar with how Omeka works, and the rhythm you can get into when uploading every item and formatting an exhibit. I definitely have a great appreciation for how long building a digital collection can take. I did not have to digitize any of the items or create original content for the exhibit, but it still took a long time to move everything. If it took three, almost four, months for me to migrate an exhibit of only 140 items, I can only imagine how long it would take for large collections.
Their Maya Story: George and Gerrie Andrews
Pros: Quick with CSV import, less trial and error, building the exhibit only took two days; Easy metadata standardization when done in Excel ahead of time
Cons: Figuring out the CSV import (must be done very quickly or it has to be started all over again); Mapping elements (sometimes difficult to match column headings with element names for DublinCore metadata)
Theme: Neatscape (nice display of the images, and large, easy-to-read text, the menu at the bottom is the only downside, only available in Omeka.org); Big Picture (current display in Omeka.net, large image display, allows easy navigation between items in galleries and between pages in the exhibit)
After (finally) finishing the Battle Hall at 100 exhibit, I moved on to the George and Gerrie Andrews exhibit, Their Maya Story. This exhibit Katie Pierce Meyer and I imported into Omeka via a CSV (Comma Separated Value) file that had been generously created for us. When importing a CSV file, you choose “elements” of metadata that align with the columns in the file (e.g. the “Title” column matches to the “Title” element in Dublin Core, or the “Geographical Location” column might match to the “Spatial Location” element); it is important to note that not all column headings have a corresponding element to match to, so it helps think about this somewhat beforehand. After a mishap during which Katie and I took too long matching columns to elements, we successfully uploaded all 116 items to Omeka in less than two minutes, complete with metadata and attached image files. I then began to build the exhibit in Omeka. I again wanted to be faithful to the original exhibit. I wanted to try a different theme this time, so I chose the theme called “Neatscape,” which does not permit any customization or changes to the display the way some other themes do. The only

problem I have with Neatscape as a theme is that the menu for the exhibit is at the very bottom of the page, so you have to scroll through the whole page in order to reach the menu. One of the perks of Omeka is that it allows users to change themes without changing the content or layout of the
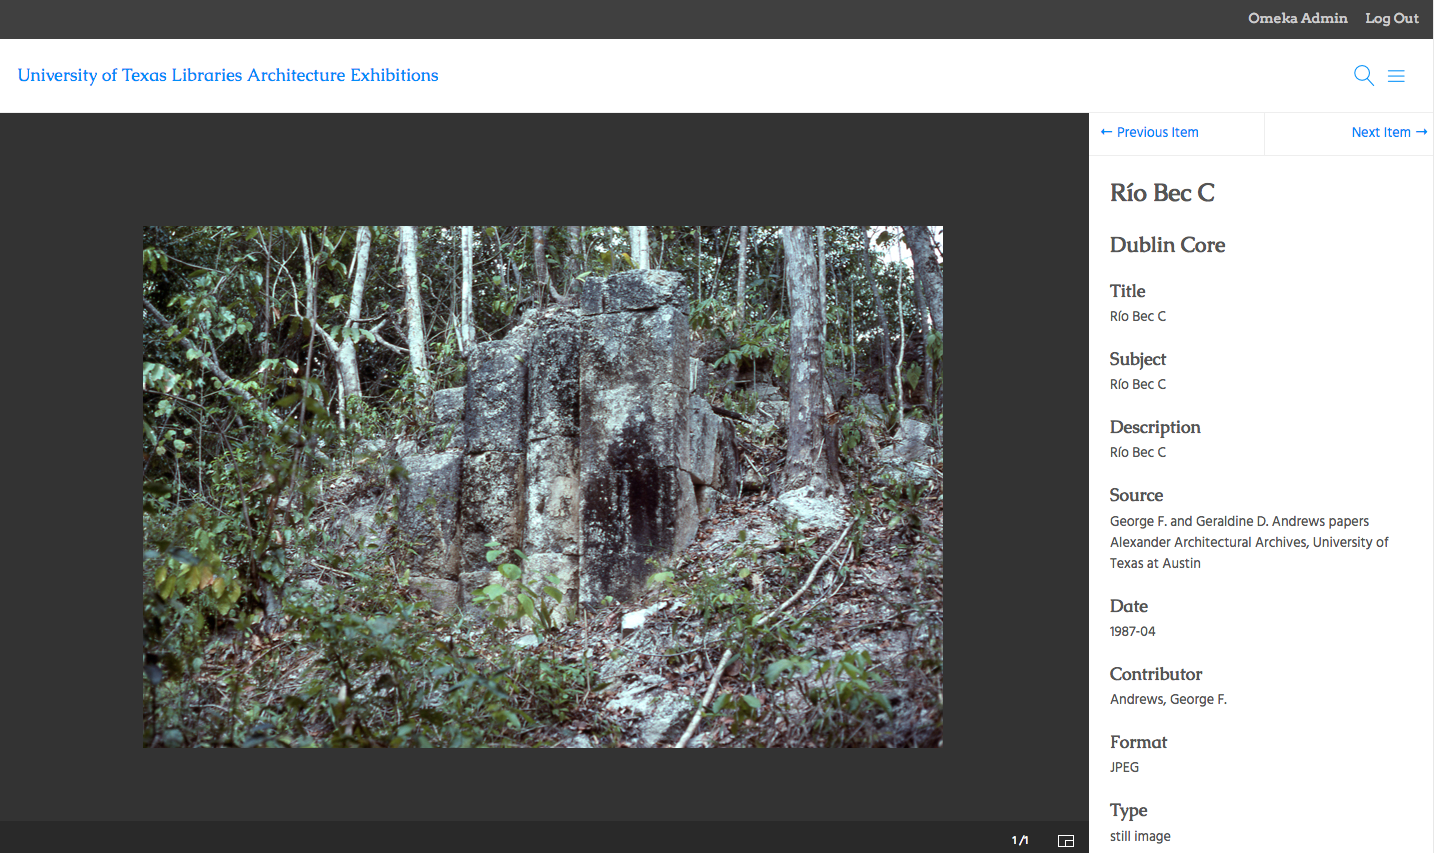
existing content of the exhibit. We decided to go with Neatscape so that we have an example of what it looks like as an exhibit, though we may change it in the future if we find a theme that works well for our content. A major asset of Neatscape is that the metadata pages for individual items does include a small thumbnail immediately to the right at the top of the page, meaning that (unlike in the Thanks, Roy theme in the Battle Hall at 100 exhibit) users do not have to scroll all the way down the page to see only a small thumbnail image that, when clicked on, then leads to a larger image. Building the exhibit was much the same as before, only this took merely two days, between using the CSV import and having had the experience of building an exhibit. It is amazing how much time the CSV import cut out, so I definitely learned that it is necessary to have all the metadata standardized in a CSV file in order to make the process much easier and more enjoyable.
After the migration from Omeka.org to Omeka.net, the Neatscape theme was no longer an option, so I chose to use the Big Picture theme, which emphasizes images. The thumbnails for the galleries are large, and the images displayed when a user clicks on an item is larger than any of the other themes. We still have not figured out how to add zoom functionality to our exhibits. That is a task that the Library’s new Digital Initiatives GRA, Zach, is going to be working on in the coming months. So the Andrews exhibit required a little bit of tweaking after the migration from Omeka.org to Omeka.net, but we wound up with a better outcome because of it. The Big Picture theme is currently my favorite among the three I have tried so far because of the large image display, which is preferable for some of the items we might include in future digitization efforts.
Eugene George
Pros: More theme options because of the move to Omeka.net, quick because of CSV import, nice to have the exhibit ready to go whenever the CSV file was done so that all that remained was to add images and galleries; took only one day to complete the exhibit
Cons: Harder to build an exhibit without the images ready to go in, quite a bit of wait time due to the migration of all Omeka content from UT’s servers to Omeka.net
Theme: The Daily (there is a nice menu that scrolls down alongside the content to navigate between pages, large text, large image display)
This exhibit about Eugene George was done in a slightly different order from the others: instead of importing the items and then building the exhibit, I built the exhibit first since our CSV file was not ready to import. So I copied over all the text from the exhibit, and created blocks of text and galleries to mimic the original order of the exhibit. We had to wait on the CSV import until after the migration from Omeka.org to Omeka.net, which took longer than expected, but in early February, we received the go-ahead to import items into the new site. Katie, Zach, and I sat together and worked on standardizing the metadata in the CSV file before importing it into Omeka, which mostly consists of renaming columns and copying
over the desired metadata content. After several failed attempts at importing the CSV file, we realized that because our website is now a legacy site (http://legacy.lib.utexas.edu/apl) that the links included to connect the JPEG images with their respective metadata would not work. So, we changed those links to include “legacy” before the link, and
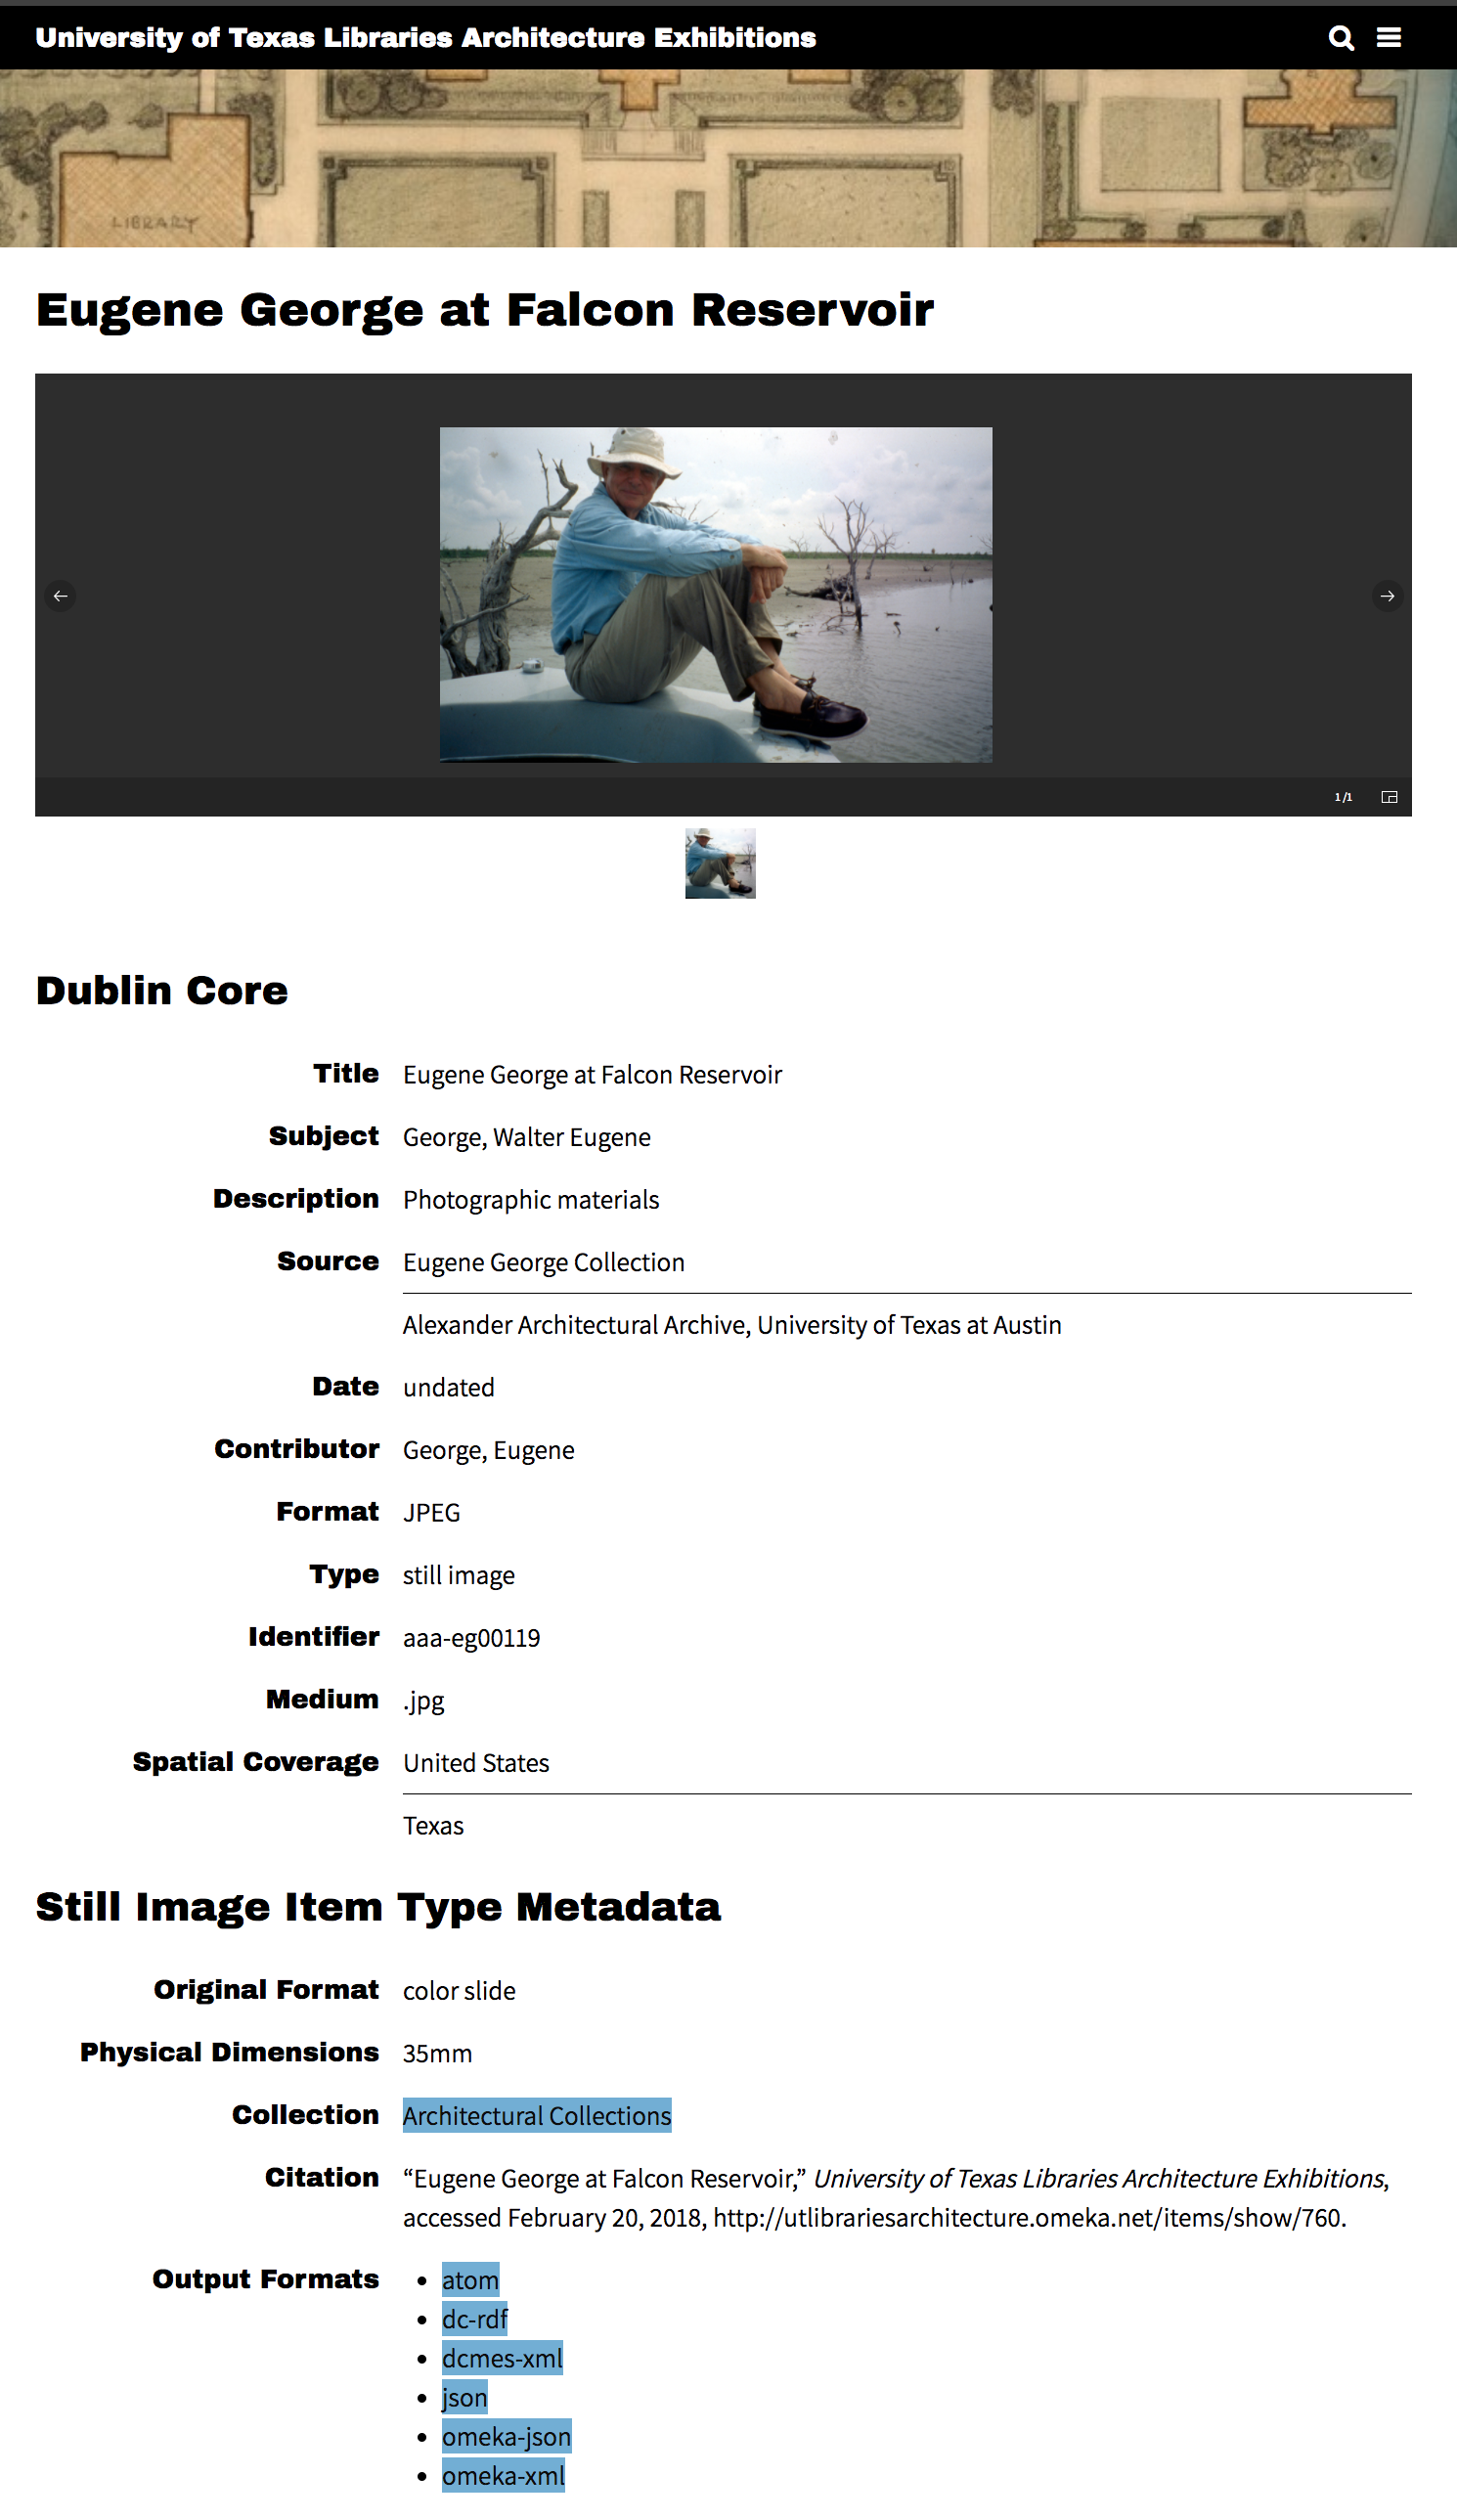
the CSV import worked perfectly! With those items now in Omeka.net, I was able to add them into the pre-built exhibit. I then went back and made sure that the galleries and text looked nice, made the necessary edits, and the exhibit was ready to go! For this one, I chose The Daily as the theme. Overall, the theme looks nice, with large text, large image display within the exhibit. The menu that scrolls along beside the content allows for quick and easy navigation among the pages of the exhibit. The pages where item metadata is displayed are less text-heavy than in the Thanks, Roy theme used for the Battle Hall exhibit (and feature the image at the top of the page instead of a thumbnail at the bottom), but the image displayed is not as large as that in the Andrews exhibit.
By the time I built the Eugene George exhibit, I had a far greater understanding of how Omeka works and how long it might take. With the CSV import and the exhibit pre-built, this exhibit took only one day to complete. This means that just one day of intensive work is needed to build an exhibit when the CSV import is used to add the items, versus nearly four months doing an item-by-item import for the Battle Hall exhibit. It is easier to build the exhibit as you go, as I did with the Andrews exhibit, rather than having it already built. I found it far easier to make changes as I went along building the Andrews exhibit than to have to go back afterwards as I did with Eugene George.
Conclusion
In spite of my limited technological expertise and lack of knowledge about Omeka, I found the platform very easy to use. Exhibits and importing items (whether individually or via CSV file) takes time and patience. For collections less than 50 items, importing items one-by-one is fine, but for larger collections, the CSV import saves a great deal of time. It is intensive to create a CSV file with all the pertinent metadata, but it is preferable to having to individually import 200 items and type in metadata for each. With a CSV file, the standardization is done before the items ever make it into Omeka.
In terms of Omeka.org versus Omeka.net and the Administrator side of things, not much has changed. However, it is nice to have our own site to manage and customize. Since the change to Omeka.net, we have been able to play with the website and are working toward making it exactly what we want. It is still a work in progress, but it looks pretty sharp! The ability to manage our own content, look, and navigation is something we never could have achieved through Omeka.org. Once the Libraries adds links to the UT Libraries website to reach all of the Omeka sites (the South Asian Popular and Pulp Fiction Books site, the Benson’s site), it will allow users to easily access the incredible digital collections that are forming on Omeka. Additionally, Omeka.net provides more options in terms of themes than Omeka.org. Though some do not translate between the two, the increased options have allowed us to try different themes for each exhibit to see what is the best display and format for Architectural exhibits. Hopefully Zach or someone with more technical coding expertise can find a way to add zoom functionality to our images, something that will increase the usability of our items.
Overall, working with Omeka was an enriching experience for me. Coming from a library/archives background, getting to do a project like this was incredibly rewarding. With a free platform like Omeka, anything is possible. Even a relative luddite like myself can use it to build digital collections. For the most part, I am handing off the reigns of digital projects to Zach, but I’m proud of the work I have done on these three collections. They are not perfect, but I learned so much about building digital collections from the experience of migrating this content. And currently the Architecture and Planning Library is paving the way for other UT institutions in using Omeka as an exhibit platform, about which we are extremely excited. Please explore our Omeka site and enjoy the exhibits as much as I enjoyed building them! Signing off for now, your Friendly Neighborhood Omeka Semi-Guru.


 The Wayback Machine archives each webpage individually, and must redirect and access different versions when you go to a new web page. What that means is that when you click on a link you are redirected to the Wayback Machine’s most recent or closest temporal capture of the webpage that is being linked.
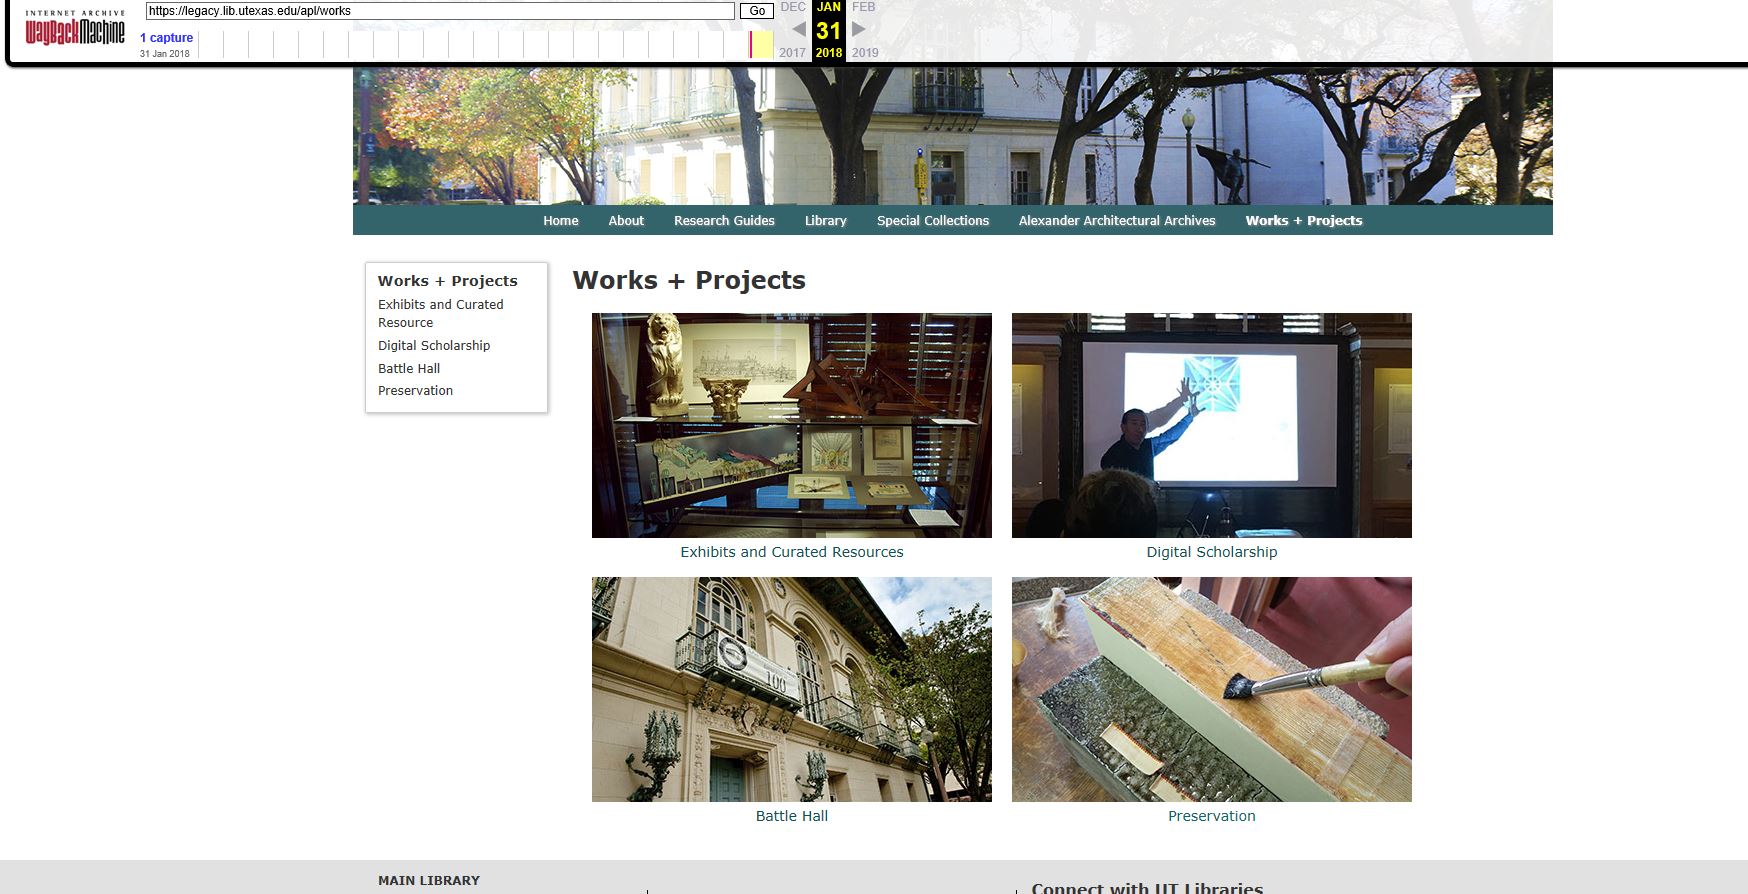
 There is a chance that the images or other script may not load. This is a result of a problem with the given date of capture. If you are having this issue, access a different capture from the navigation bar (such as January 31) to see the full site.